
Meet Your Yoink Point
Your new favourite socket. (Low bar perhaps, but give it time.)
Whether you're a host setting up your Yoink Point or a guest plugging in to charge, everything you need is right here.
Hosts
Yoink Point newbie? You'll find installation instructions here. Otherwise, here's how to get setup.
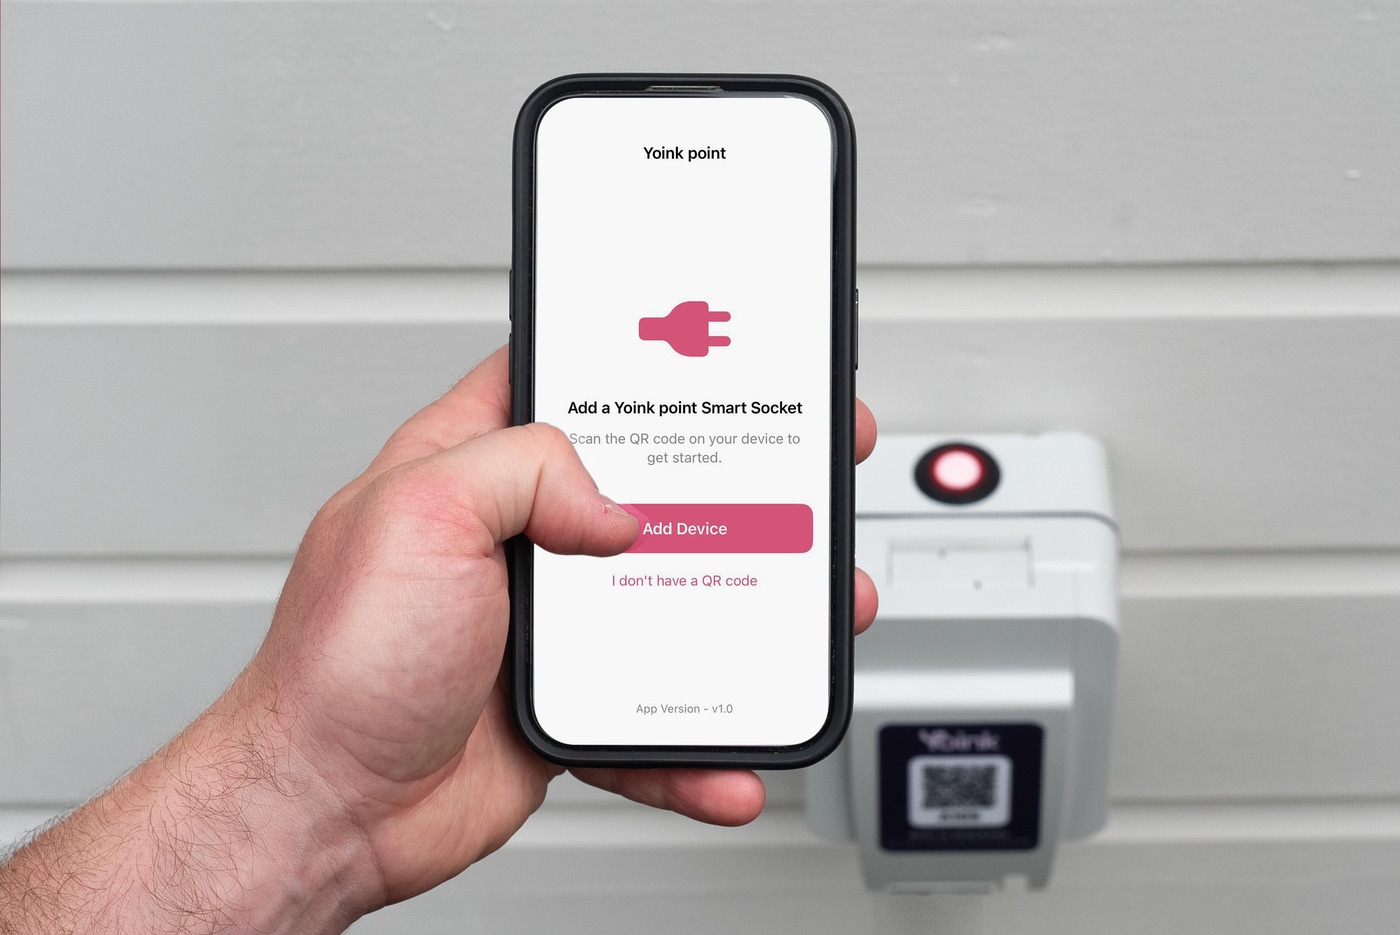
Connect Yoink Point to WiFi
You'll need your phone (with Bluetooth on) and your WiFi password handy. You may be asked to allow location and camera access.
Make sure your Yoink Point has power (if the light's red, it's powered, just not connected to WiFi yet).
Download Yoink Connect from the app store. Scan the QR code on the Yoink Point, then select your WiFi and enter the password.
Once connected, you'll see three ticks in the app and the button will turn blue.
Can't scan the QR?
Open Yoink Connect and select “I don't have a QR code”.
Choose your Yoink Point ID, which will look something like A101. You'll find it on the sticker on the front of your Yoink Point.
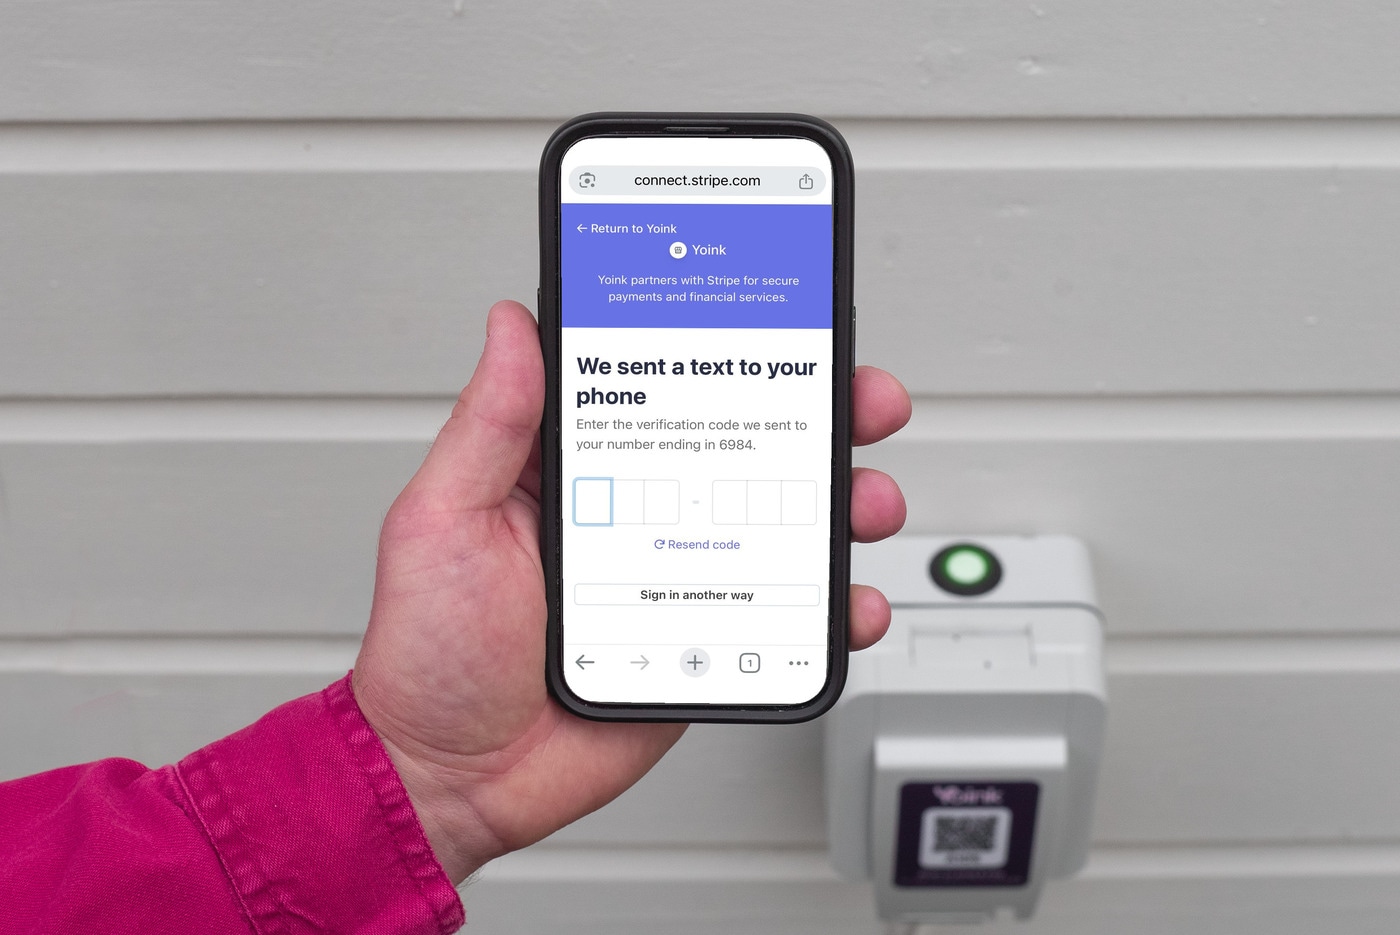
Link Yoink Point to Your Account
Scan the QR code on the front of your Yoink Point.
Or visit yoinkpoint.com/id/[your Yoink ID], replacing the last part with the ID on the front of your Yoink Point, such as A123.
You'll then be asked to log in to your Yoink account OR create a new one if you're, well… new. Follow the steps to link it to your lovely new Yoink Point.
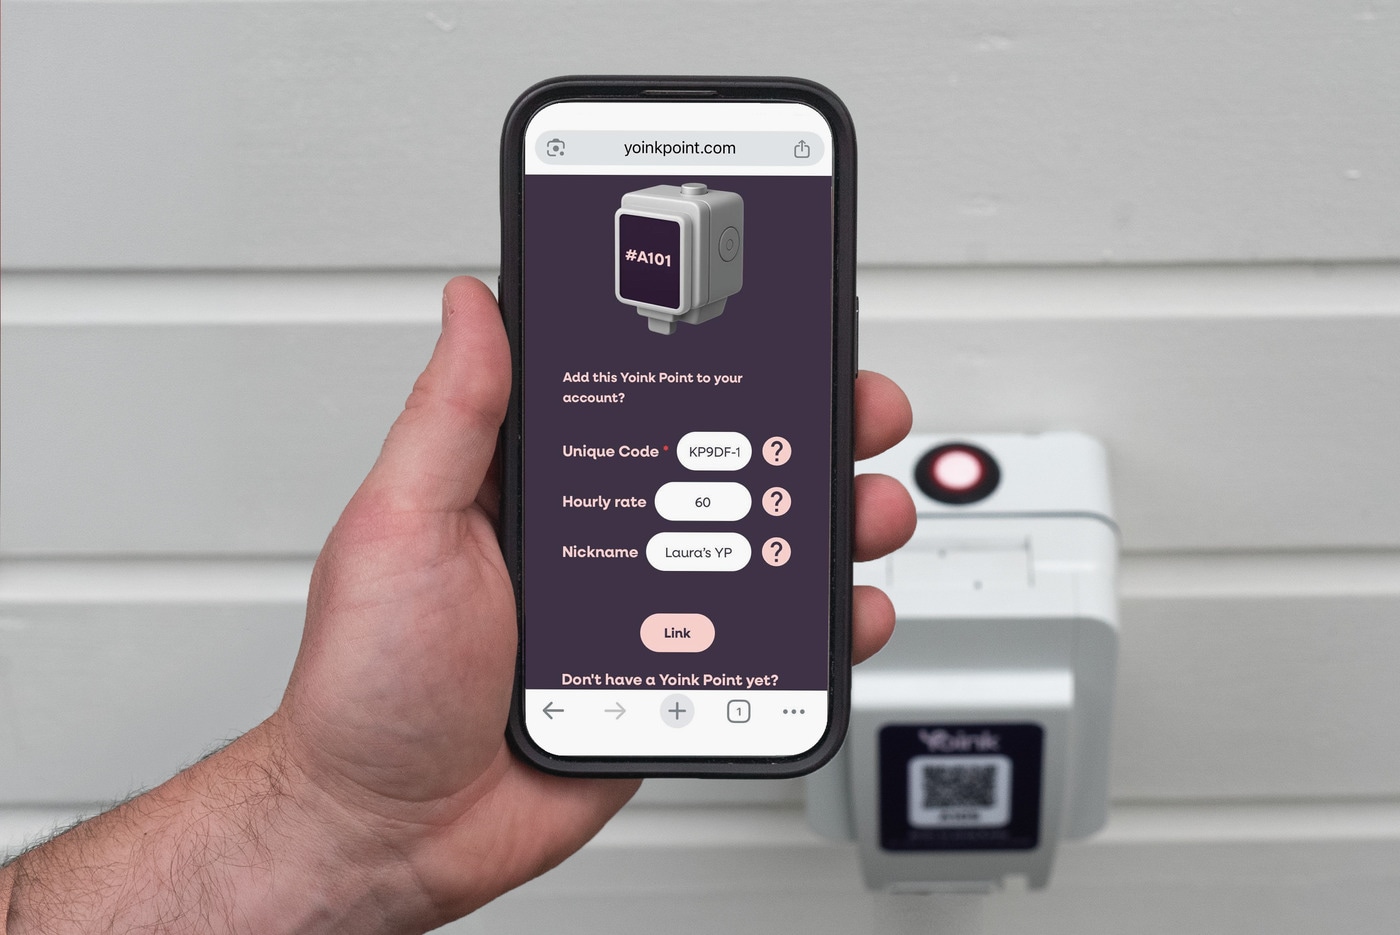
Set Tariff
Yoink Point charges by the hour, not by kWh.
To work out your rate, multiply your electricity price per kWh by 2.3. For example, if you pay £0.26 per kWh, that's about 60p per hour.
This is also a chance to give your socket a nickname: Wattson, Sir Yoinks-a-lot, you know the drill.
Happy? Press Link.
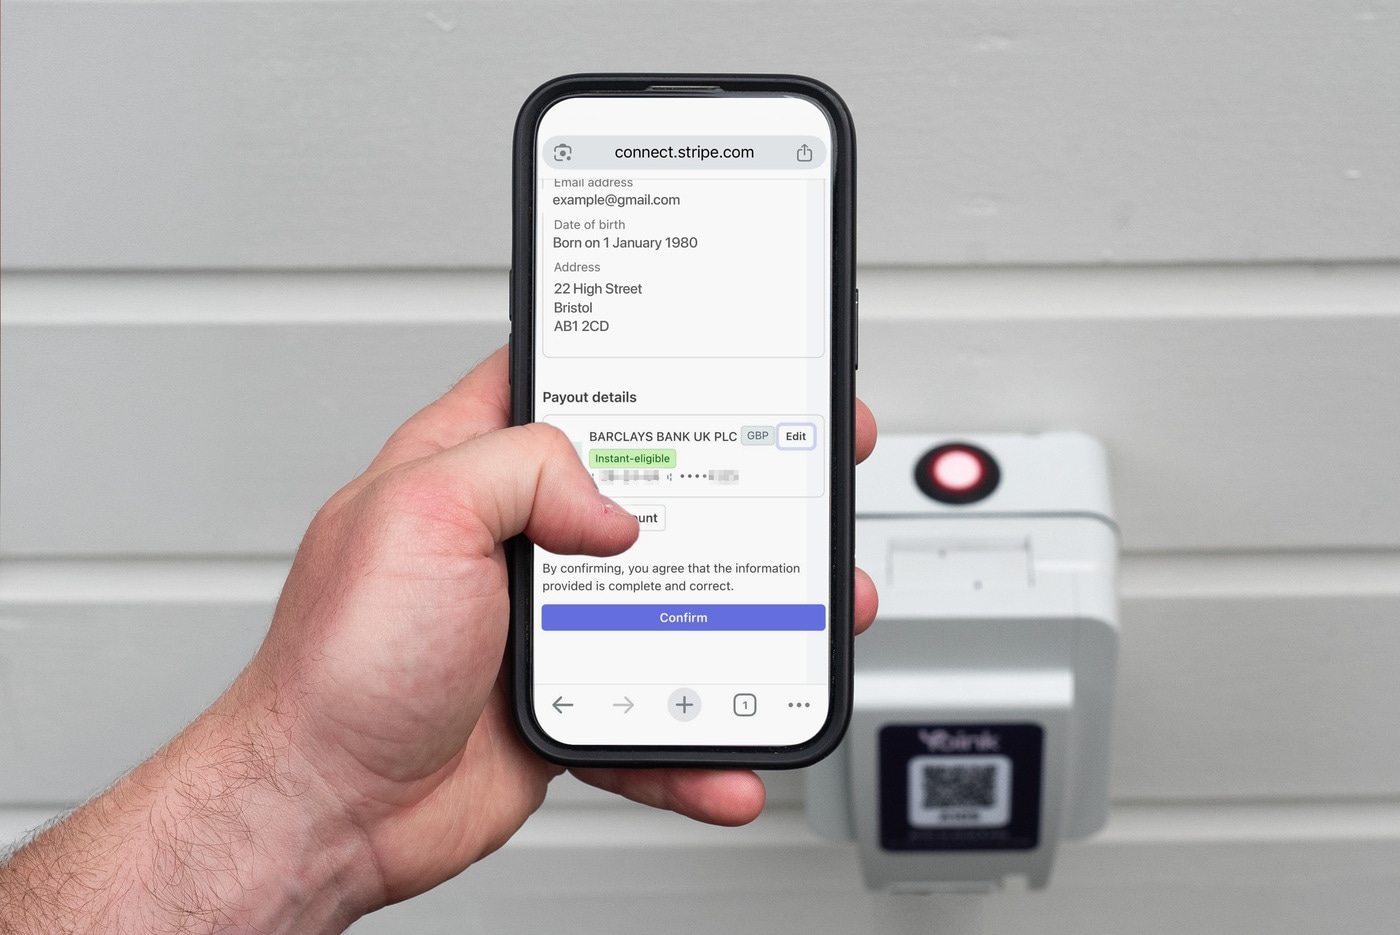
Add Bank Details
Log in, open the menu, and go to Account Settings. Tap Edit Bank Details to begin.
You'll be redirected to Stripe, our secure payment partner. Follow the steps to verify your details and add your bank account.
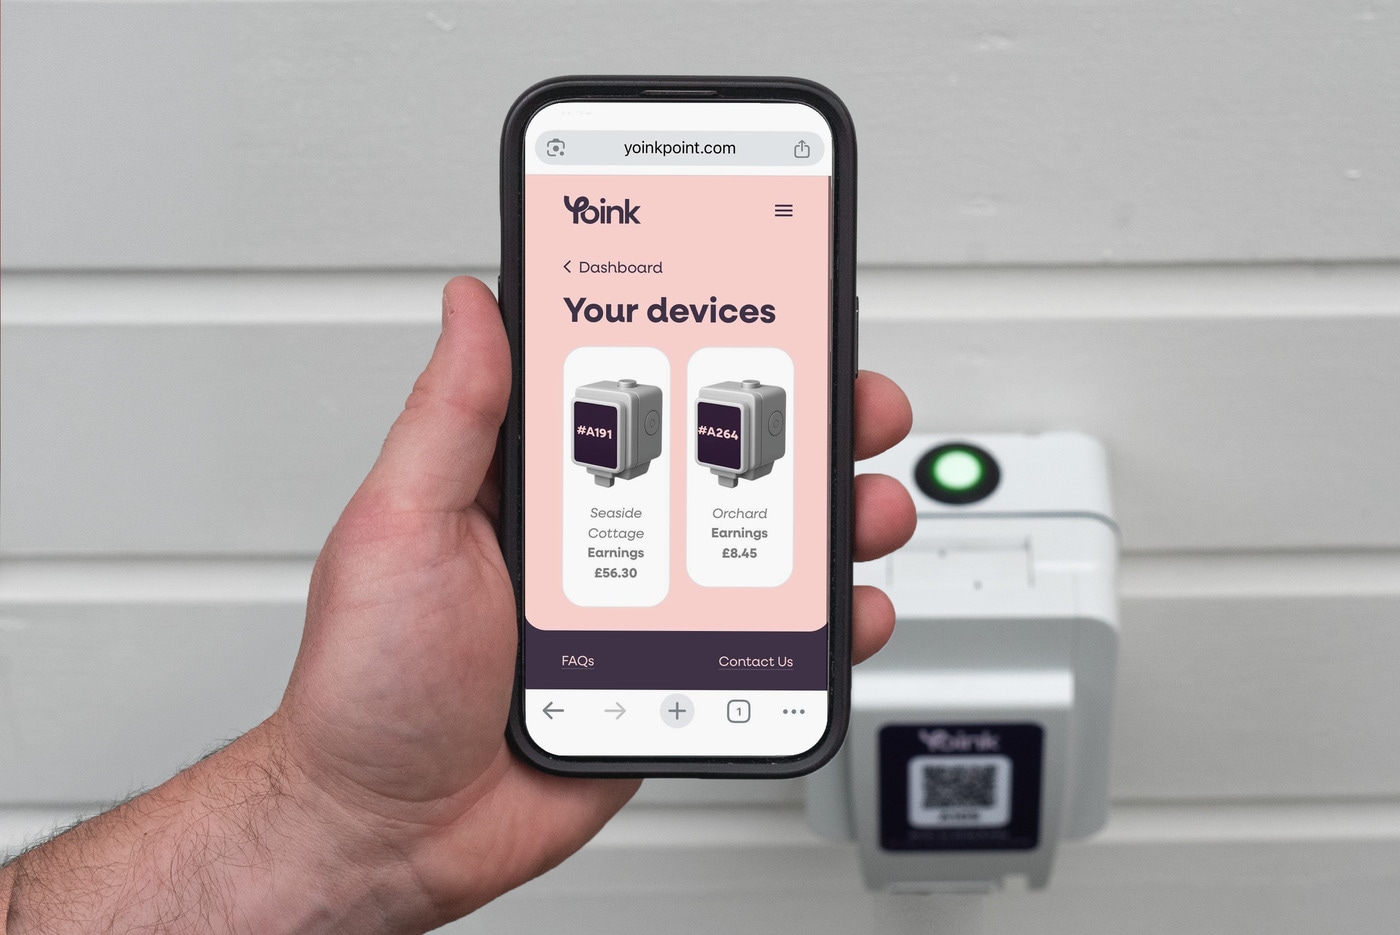
Manage Yoink Point(s)
Your homepage shows earnings and recent activity. Click Manage Yoink Points and pick your device.
From here, you can change your tariff, rename your Yoink Point, turn on Free Mode, or switch the socket on/off remotely.
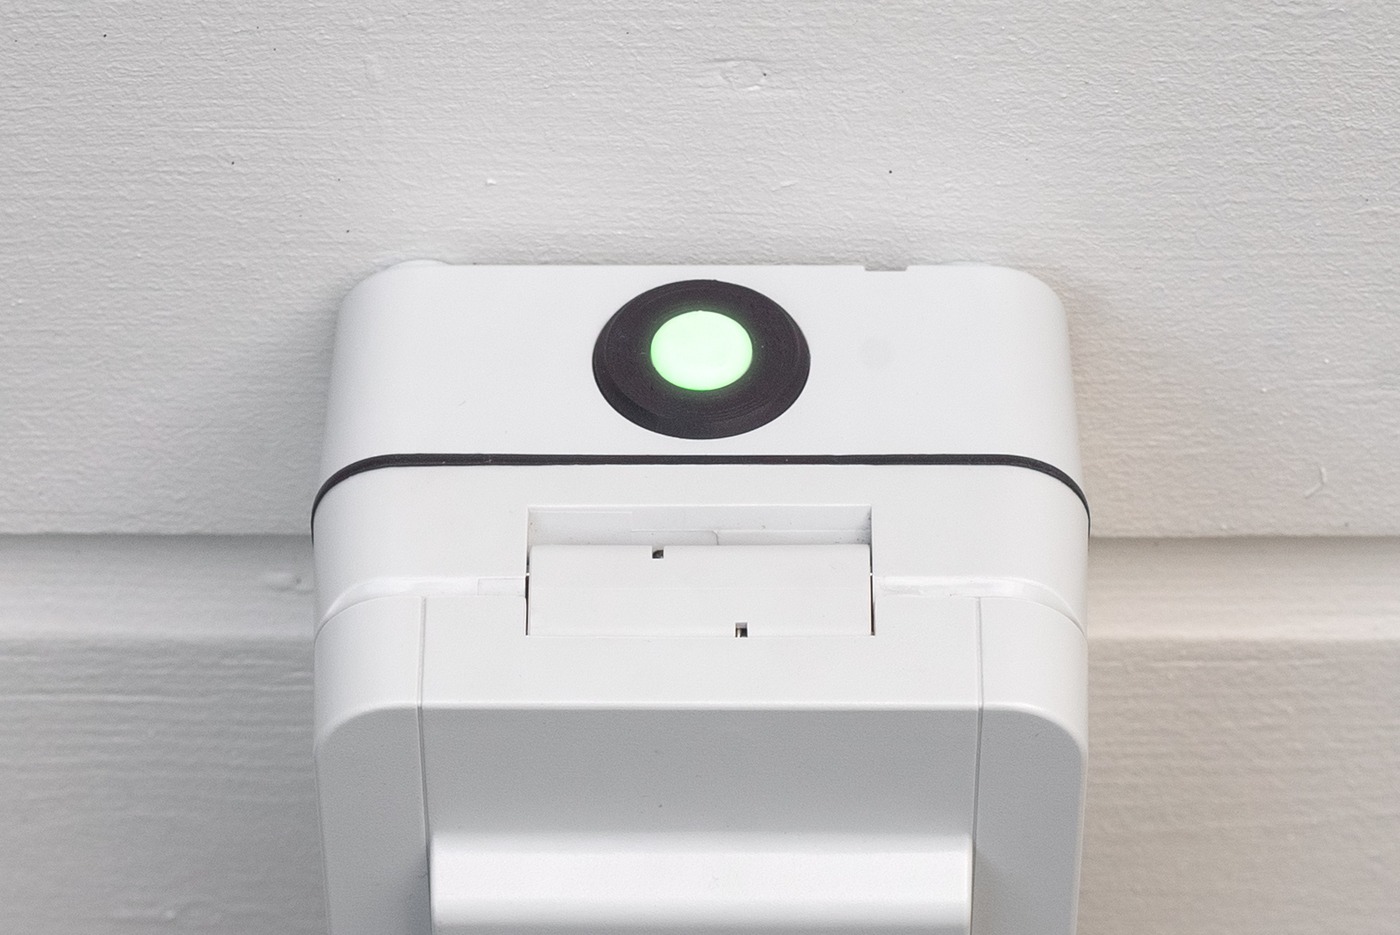
What the Lights Mean
Red - The Yoink Point has power but is not connected to WiFi. In this state, it can't be used.
Blue - Connected to WiFi and ready to go.
Green - The Yoink Point socket is on and plugged in cars can charge.
Guests
First time charging with a Yoink Point? Here's how it works.
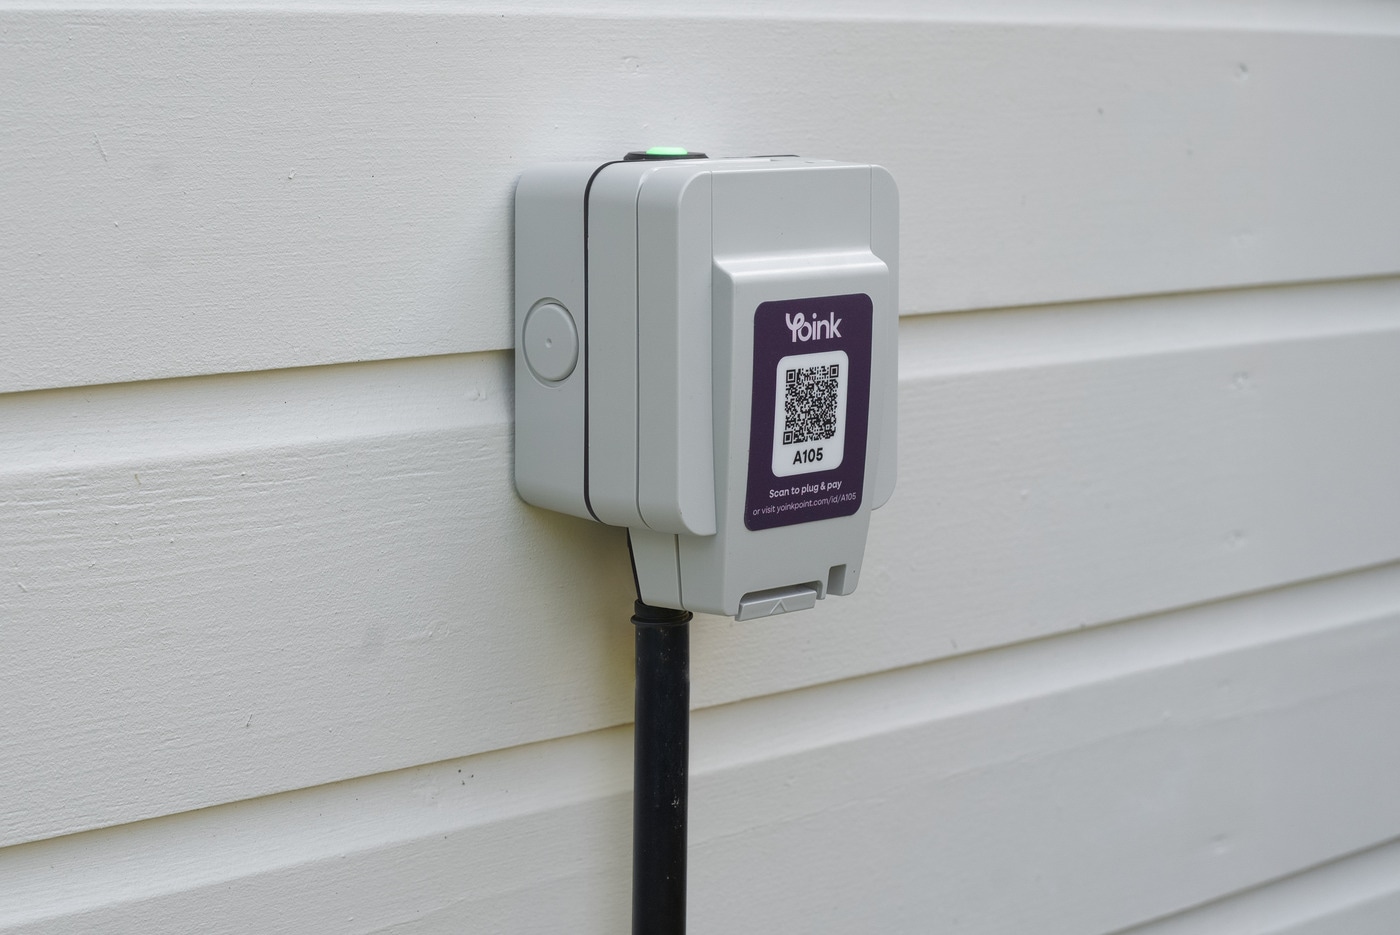
Scan to Start
Scan the QR code on the Yoink Point to get started.
Can't scan the QR?
If you cannot scan the QR code, visit www.yoinkpoint.com/id/YoinkPointID
Your Yoink Point ID will be on the front of your Yoink Point, e.g. A123.
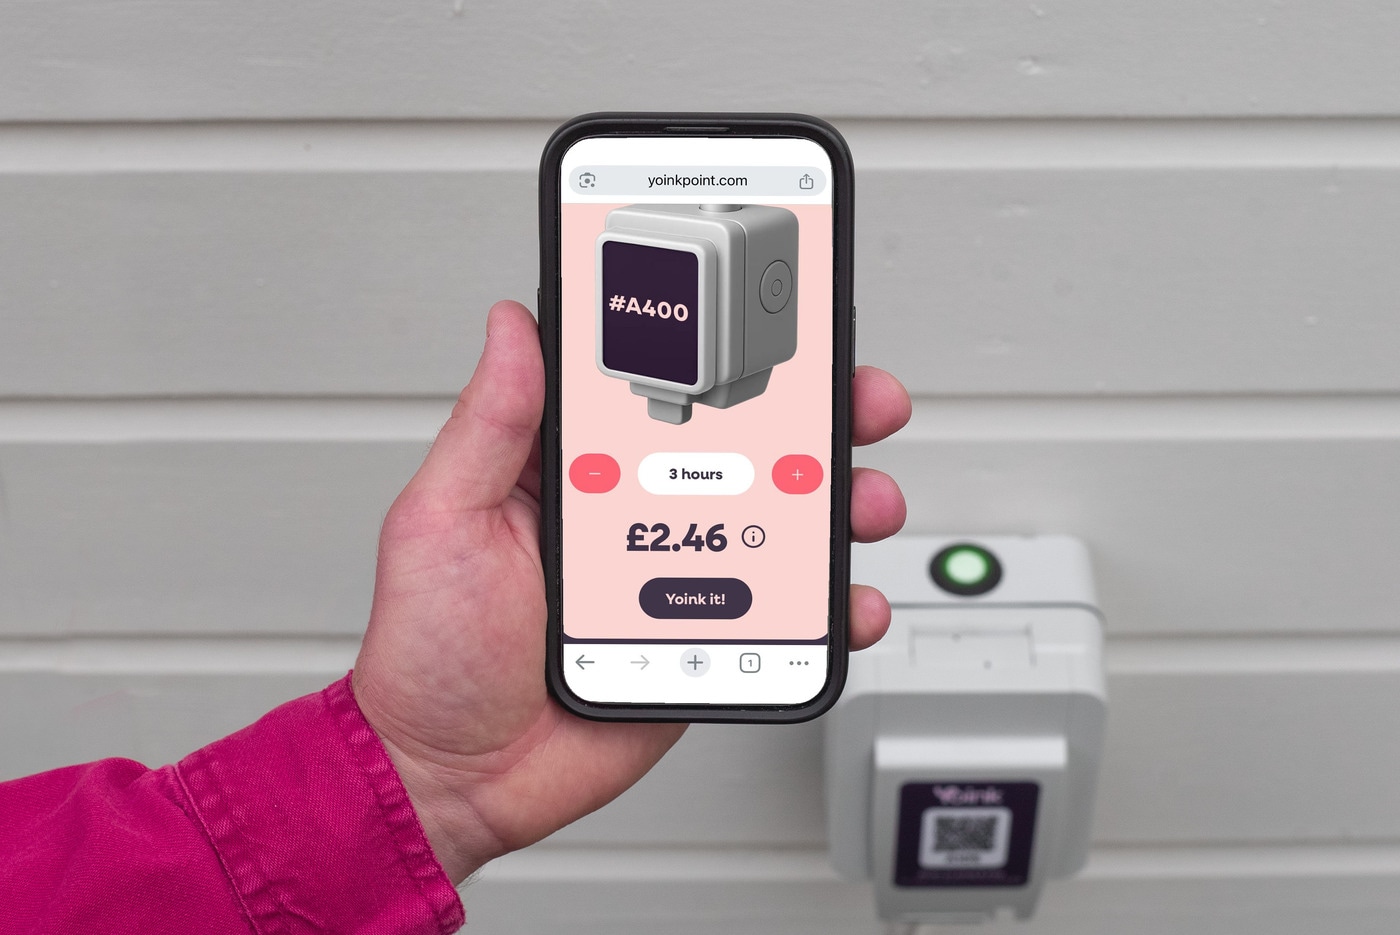
Select Charge Time
Choose how long you'd like to charge for using the + and - buttons, and see exactly what you'll pay.
Plug In
Plug in with your portable 3-pin EV charger, then tap 'Yoink it!'
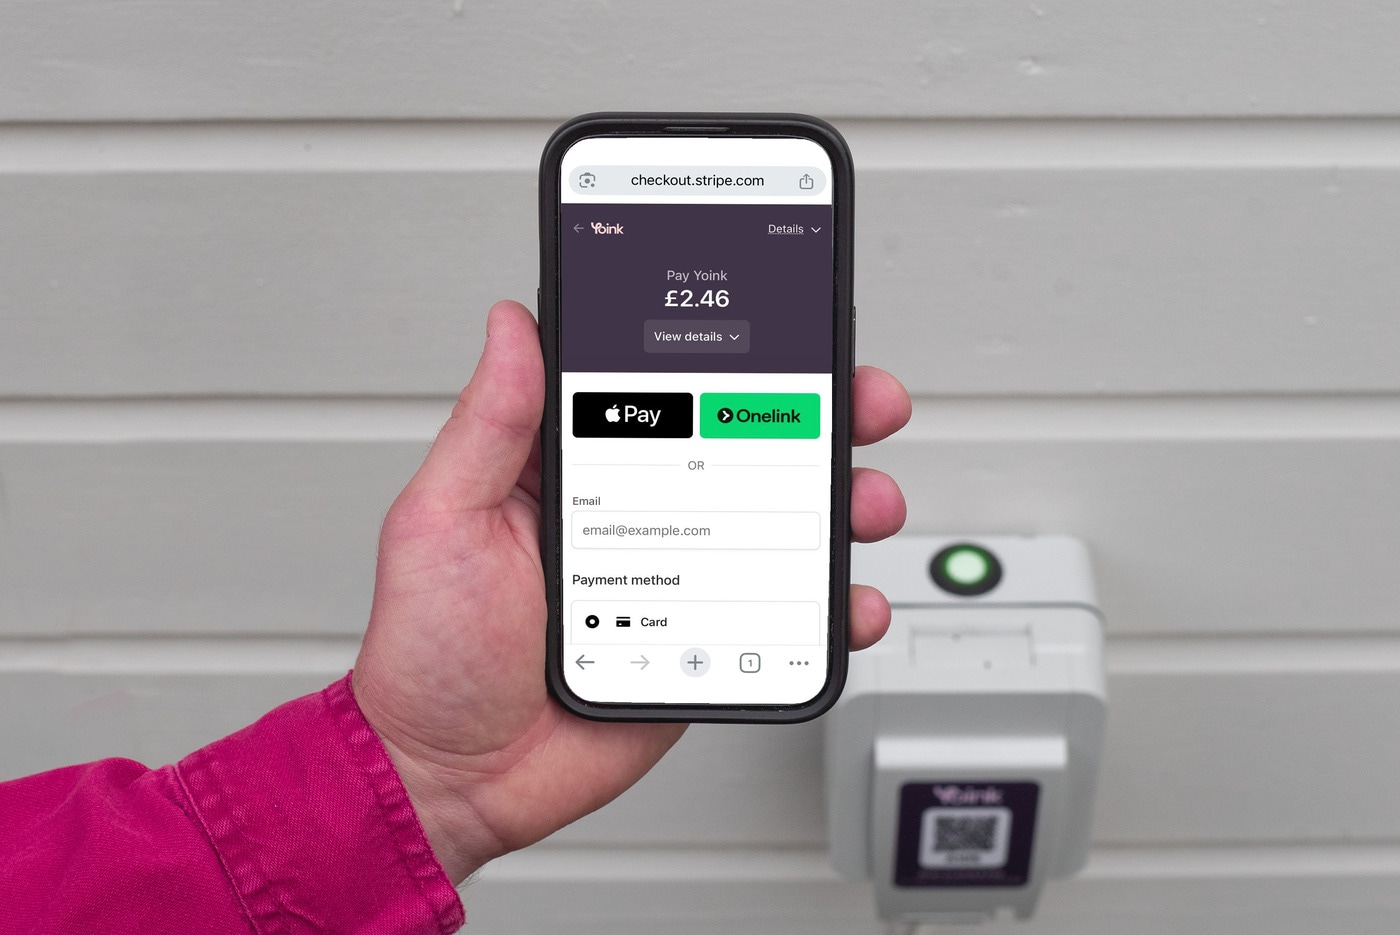
Pay Securely
You'll be taken to Stripe checkout. Pay using your preferred method.
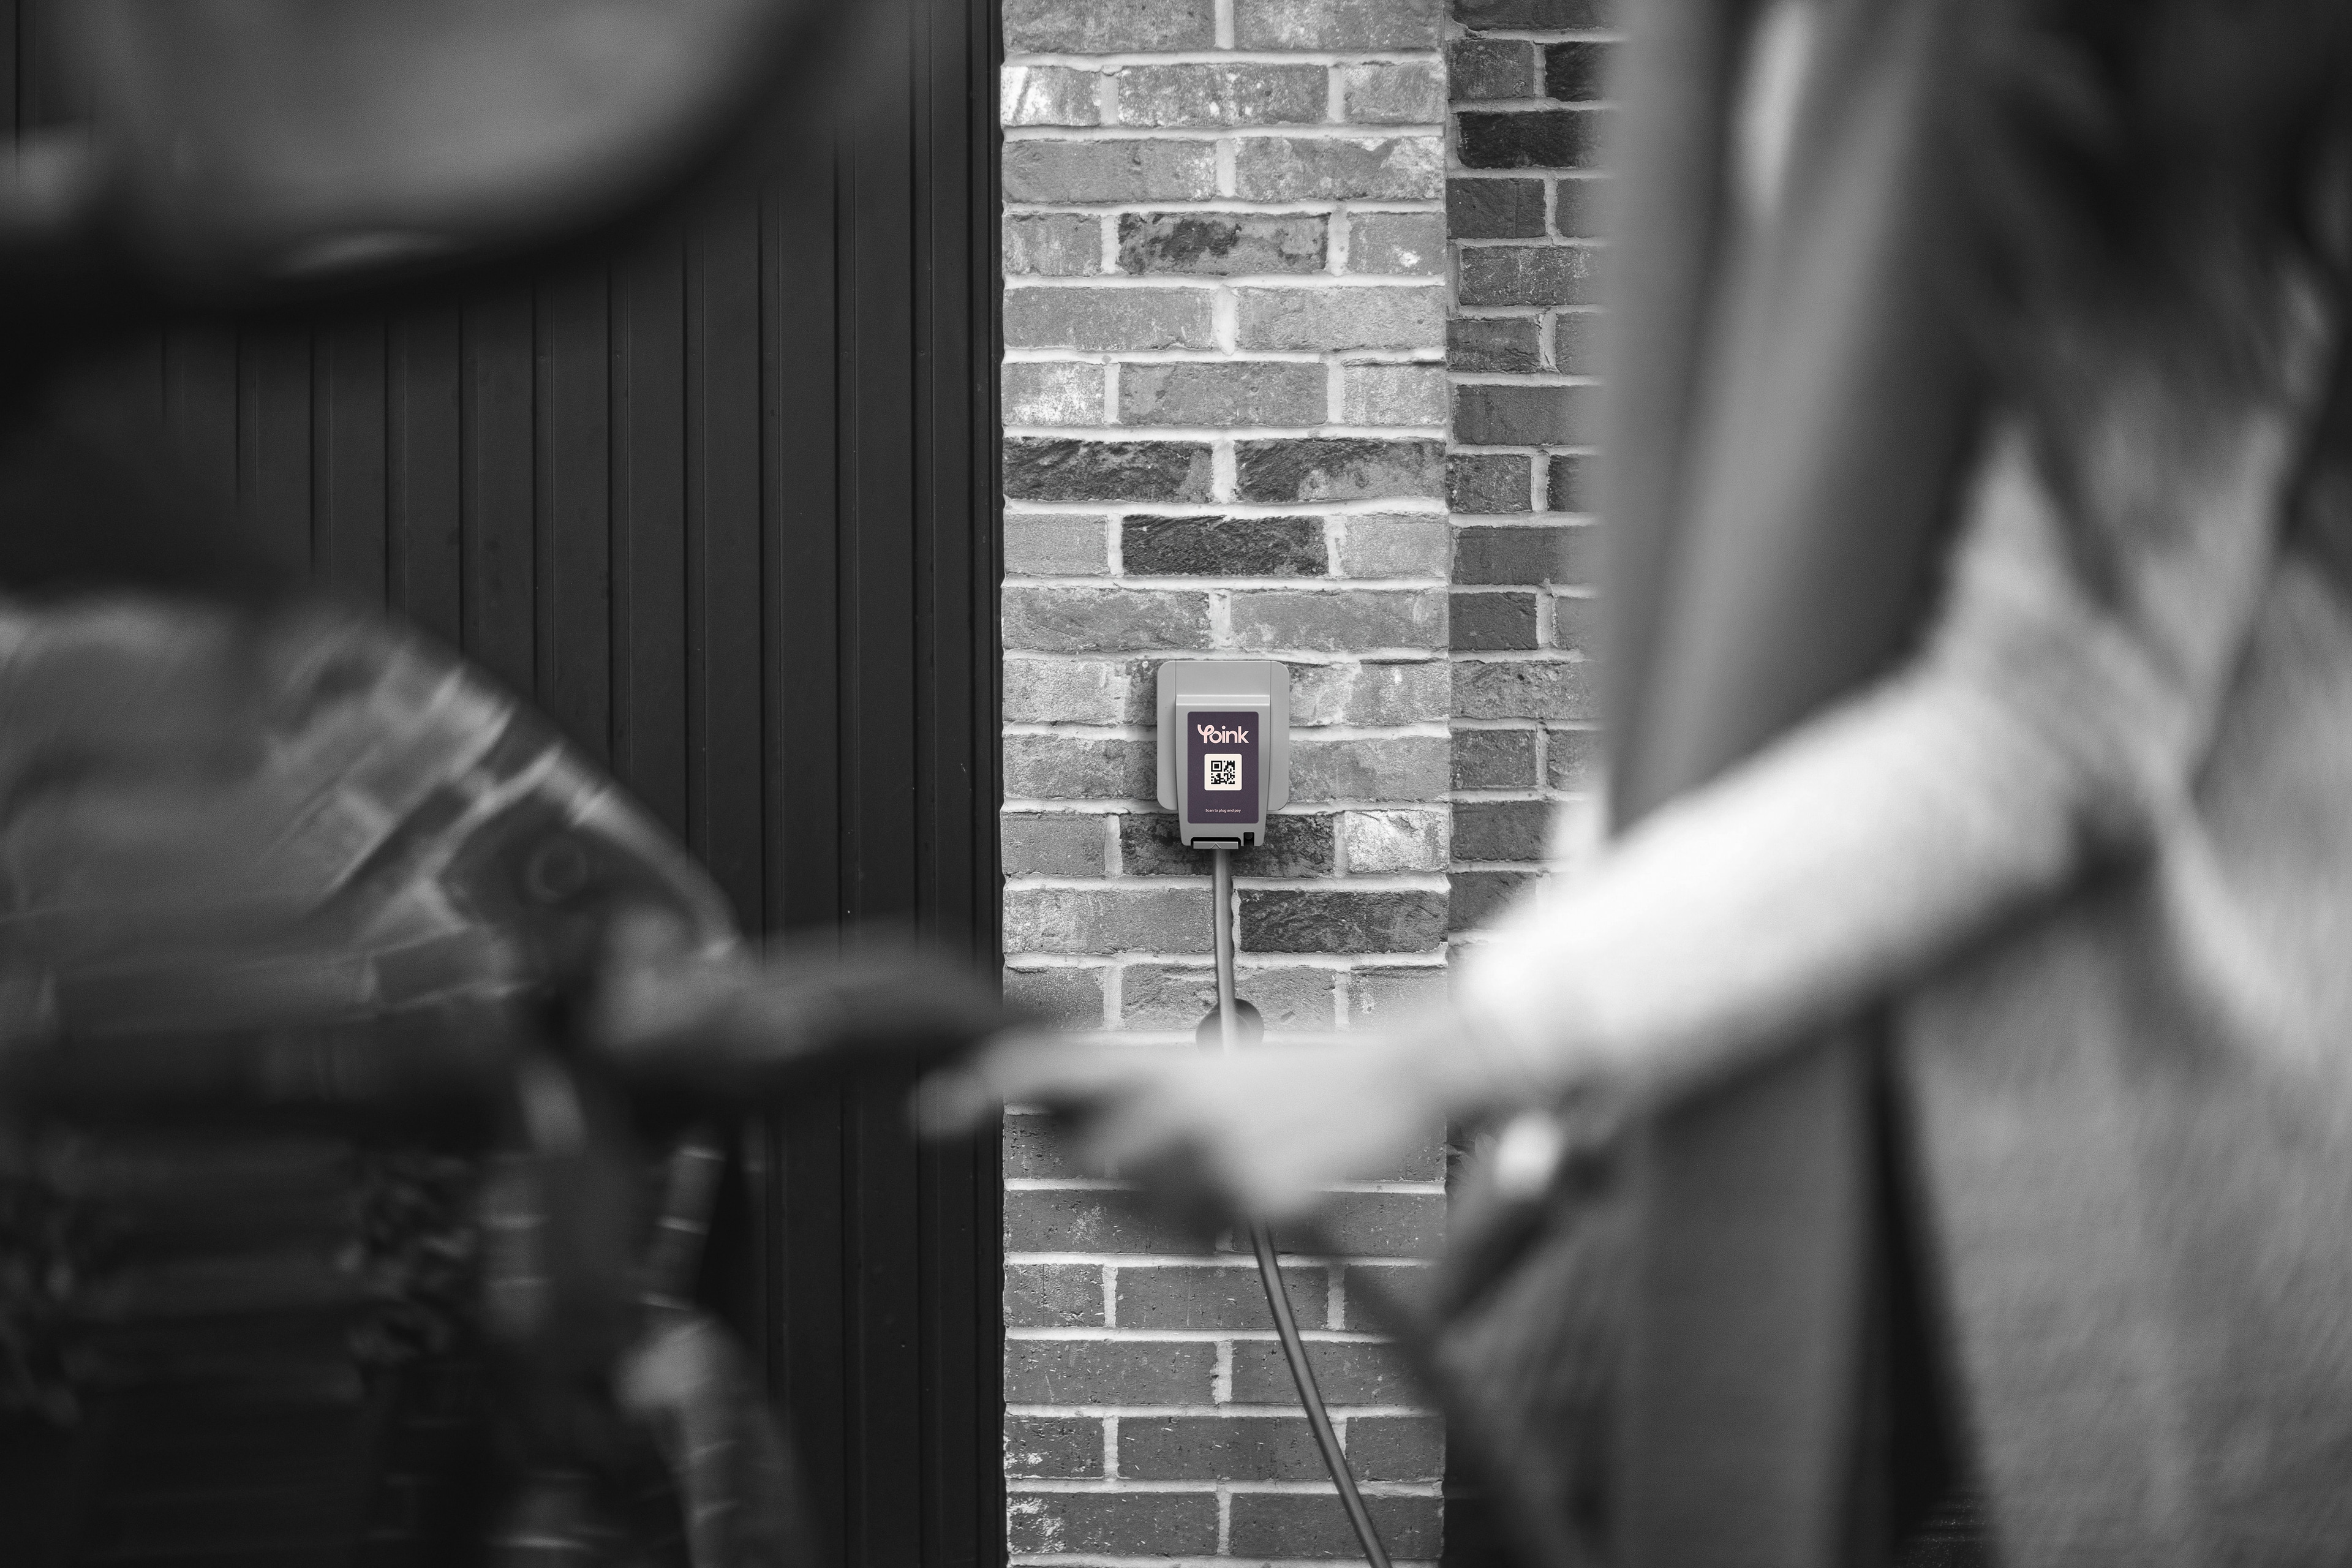
Charge and Go
Once your payment's confirmed, charging starts automatically. The light will turn from blue to green when the power's flowing.
Need to pause? Press the green button on the Yoink Point, then press it again to carry on charging.
What the Lights Mean
Blue - Ready to start. Scan the QR code on your Yoink Point to add charge time or view existing credit.
Green - Charging time has started. Press the button to pause.
Red - Not ready right now. If it stays red, let your host know.